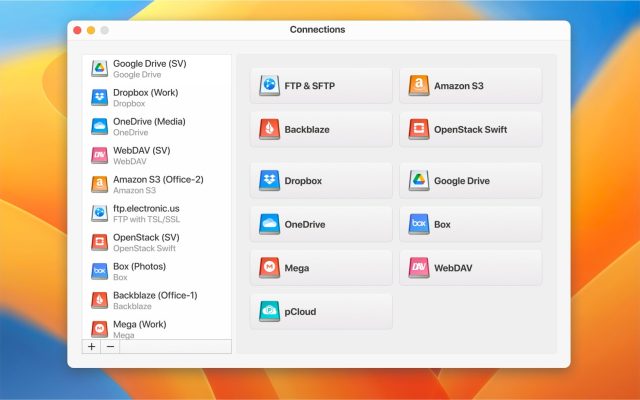
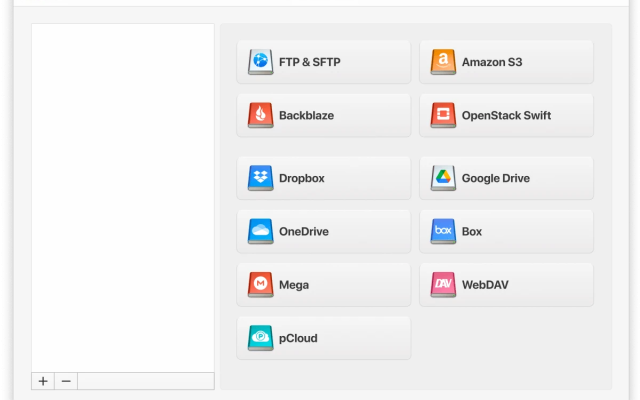
Dropbox is an application for uploading data to a cloud service and providing access for viewing and downloading to all or specific users. Access to information is possible through a browser and the installed native Dropbox desktop app. However, there is one even easier and more convenient way to access cloud data called CloudMounter. Let’s take a look at how to mount Dropbox via this app.
How Does the Dropbox Application Work?
When creating a Dropbox account, you basically get more space. It’s like you’re buying a new hard drive, but on the cloud. You’re allotted certain storage space on the server, depending on your subscription.
Once you start uploading files on your Dropbox app, it will be uploaded in the cloud, and you can access that data from any device connected to the internet. Furthermore, if you make changes to Dropbox files on one device, it will be automatically synced on all devices.
To sum things up, you can think of Dropbox as a hard disk in the cloud. The storage space you get is only yours to work with, and, unlike a traditional HDD, it automatically syncs and updates the information across all your devices.
Key Features of Dropbox
Dropbox’s main purpose is online storage and file sync between multiple devices and the cloud. However, it also offers multiple other functions beyond its basic functionality.
It comes with dedicated apps for most operating systems out there. You can install Dropbox on PC, Mac, iOS, or Android. No matter if you use Dropbox through the dedicated app or directly in the browser, you’re always getting a 256-bit AES encryption.
Furthermore, Dropbox maintains a history of file version if you need to recover them later. The free version keeps this history for 30 days, while if you go for Dropbox Advanced and Enterprise, the period is extended to 365 days.
Another excellent feature offered by Dropbox is the easy-share function. You can easily grant permission to users or create links to give to whomever you want to access the info.
How to add Dropbox to desktop computer
CloudMounter is a handy cross-platform solution aimed to connect cloud computing services and remote servers as local drives thus saving space on your computer.
In order to mount Dropbox to your computer follow these simple steps:
1. Download and install CloudMounter on your computer.
2. Once installed, launch the app.
3. Choose the Dropbox icon from the list and click it.
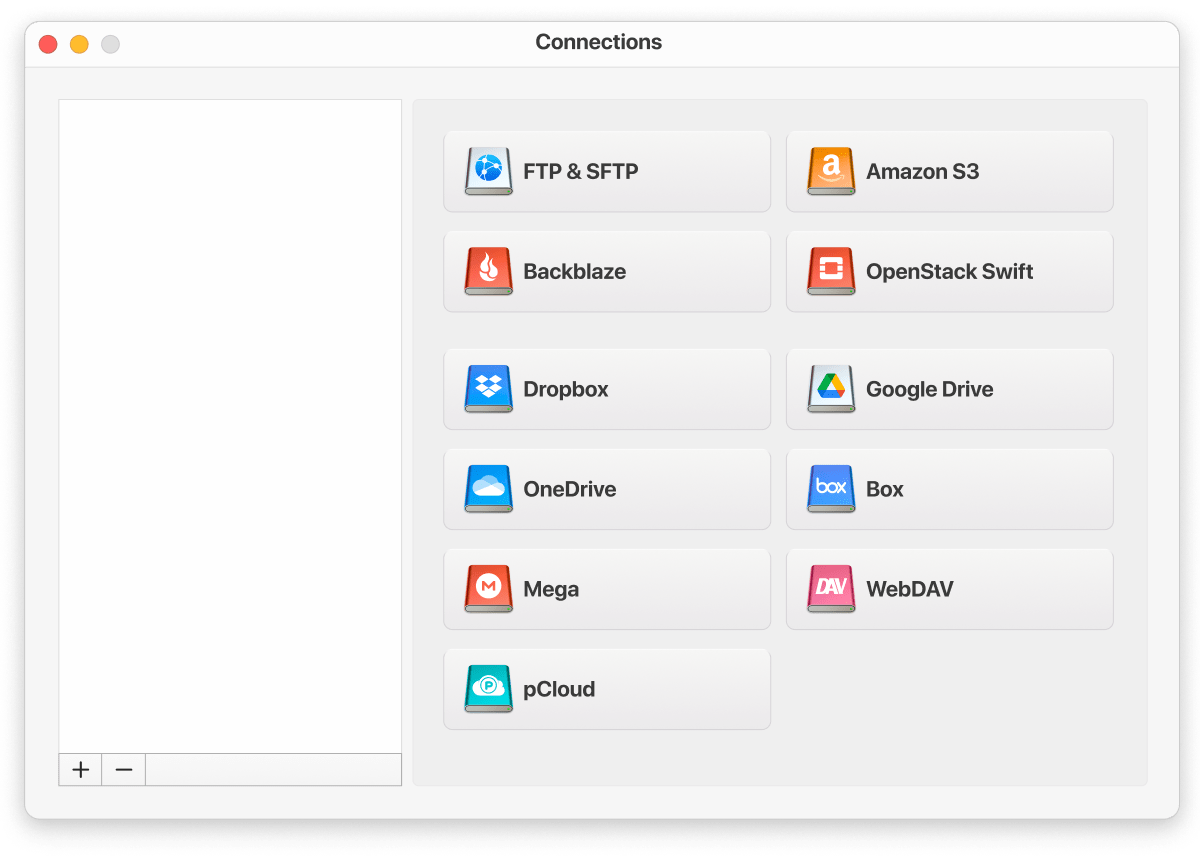
4. Sign into your Dropbox account.
5. Click the Mount button.
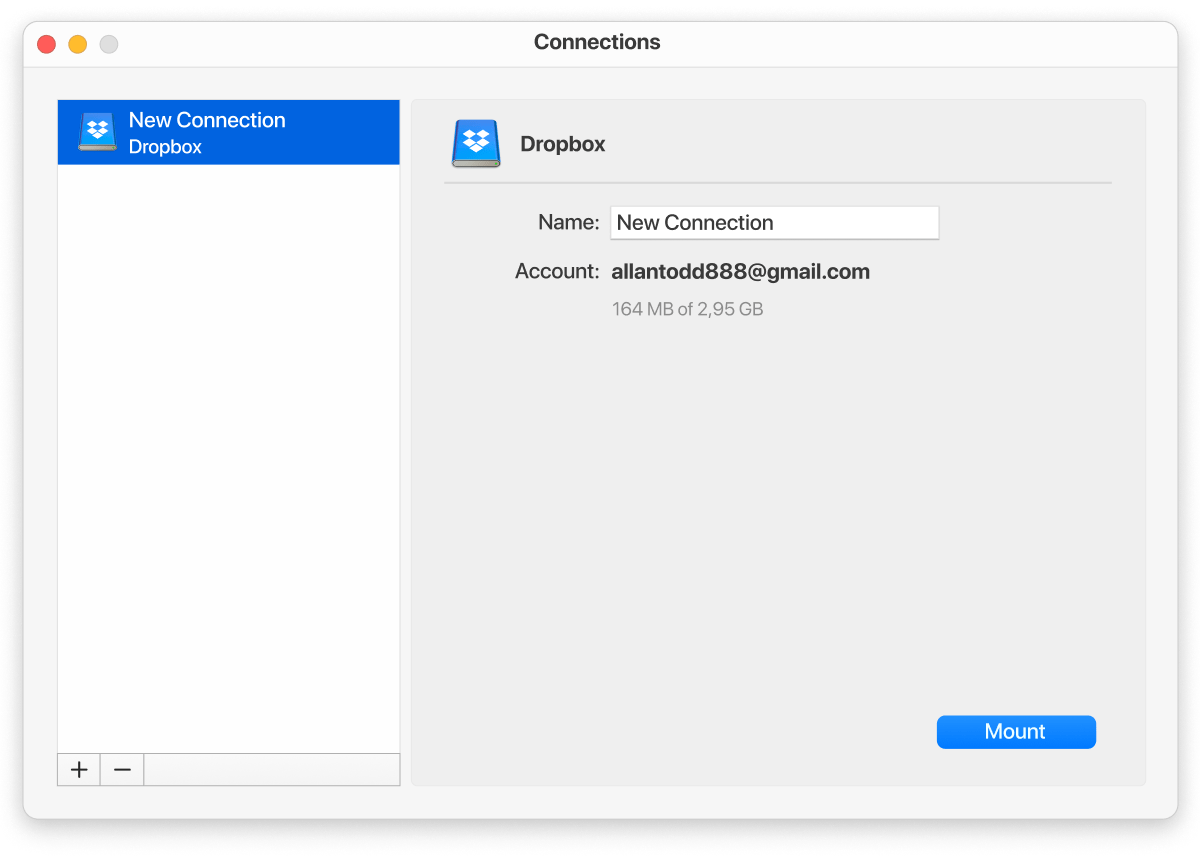
Now you can access Dropbox directly from Finder. This Dropbox desktop Mac alternative allows connecting multiple cloud accounts at the same time and provides seamless access to them. Besides that, CloudMounter supports the work with Basic and Business Dropbox accounts.
How to configure Dropbox desktop client on your computer
With the Dropbox desktop app, you can save, view, share, and access files and folders stored in your Dropbox account from your computer. You can get Dropbox for desktop version from the official site. After that follow these steps:
1. Once the download is complete, find the installer in the Downloads folder. The filename is DropboxInstaller.dmg. Open the installer.
2. Double-click the Dropbox icon in the appeared Dropbox Installer window.

3. You will be notified that Dropbox is downloaded from the web app. You can click the Open button to continue.
4. The app will download any required updates and then the installation process begins.
5. After the basic installation is complete, the icon of Dropbox will be added to your Mac’s menu bar, the Dropbox desktop application will be installed in the Applications folder, and you will see the Dropbox login window.
6. If you already have a Dropbox account, you need to enter your email address and password; otherwise, click the Register link in the lower right corner of the window and provide the requested registration information.
7. After logging into the Dropbox window, a message appears congratulating you on the successful installation. Click the Open My Dropbox Folder button.
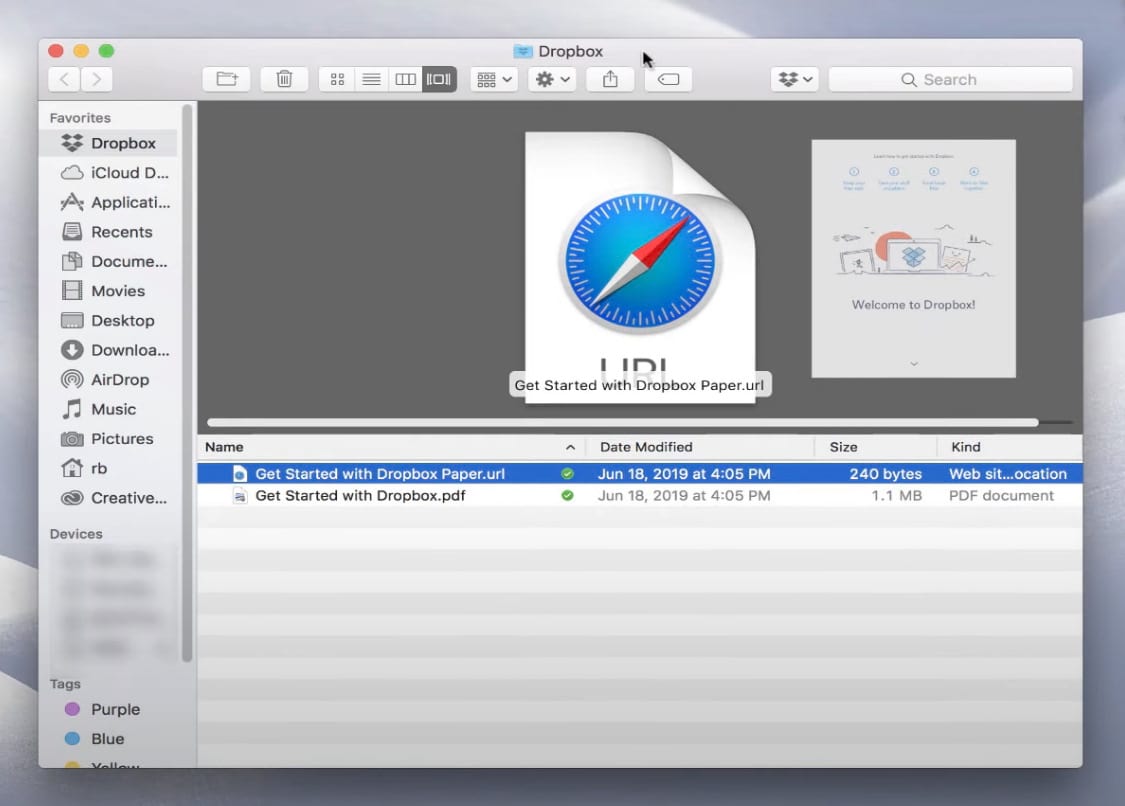
Dropbox requires your account password for the new folder and to work properly on your Mac. Besides that, the app will add itself to the sidebar of your Finder, and will also add the Get Started with Dropbox PDF file to your Dropbox folder. Take a few minutes to read the getting started guide as this provides a good framework for working with Dropbox.
How to Install the Dropbox App for Windows?
Installing the Dropbox app is a straightforward process no matter if you’re using Windows or any other version. Like with most apps, the first step is to locate the website where to download the kit.
- Download Dropbox cloud storage service from the official website.
- Run the installer.
- Follow the install wizard instructions to finalize the process.
- Once the installation is complete, use your credentials to sign in to Dropbox.
Once the app is installed on your Windows computer, you can make the most of all its features with starred files, synchronization, and easily transfer folders from one place to the other.
How to Customize Dropbox desktop
- Click the Dropbox icon in your menu bar.
- Click on your profile picture in the upper-right corner.
- Select Preferences.
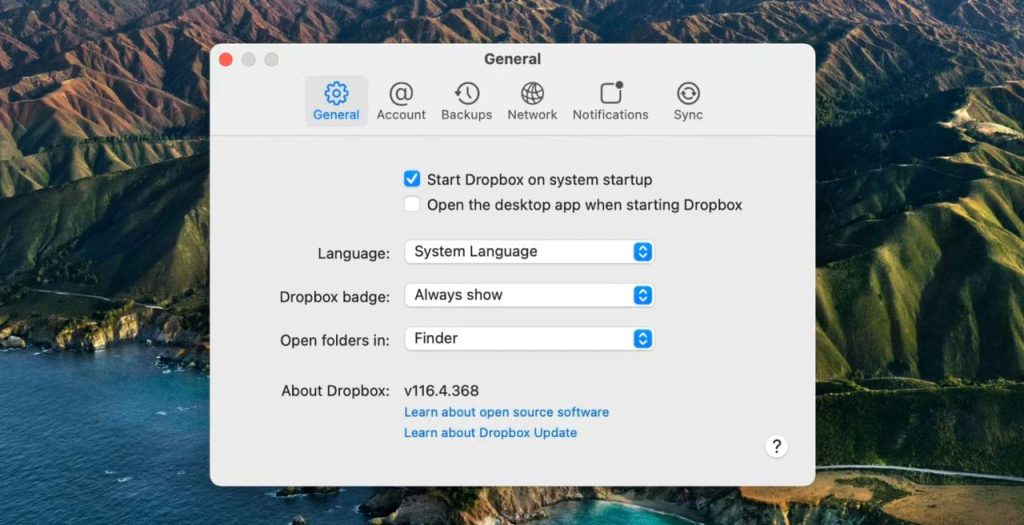
Next, let’s look at the settings in each tab:
✅ General settings:
- Start Dropbox on system startup → This setting automatically opens the Dropbox desktop app every time you start your PC
- Language
- Dropbox Badge → here you can customize the appearance of the Dropbox badge
✅ Account:
- This PC/This Mac → manage your backups
- External Drive Backups → manage notifications about setting up backups
- Photos → Select whether you want to enable automatic uploading of photos from your device
- Devices → Devices set up to import photos are displayed here
- Screenshots
✅ Bandwidth or Network
- Bandwidth → manage how much bandwidth your internet uses to run the desktop app
- Proxies → connect the Dropbox desktop app to a proxy server
- Enable LAN Sync → enable LAN synchronization in the desktop app
✅ Notifications
- Notify me about → choose which notifications you want to get
- Snooze notifications
✅ Sync
- Storage of new files
- Select folders to sync → allows you to remove specific Dropbox folders from your hard drive
- Dropbox folder location: this option available for Windows and Linux computers only and lets you move the folder to a different locations
Conclusion
Installing and using Dropbox desktop app on your Mac can make it easier to share files with other devices you may own. It can also be an easy way to share photos or send large files to others. It’s no surprise that Dropbox is one of the most popular cloud storage systems around. Besides that Dropbox is also available for Windows, Linux, and most mobile platforms, including iOS devices.
Popular Articles
Frequently Asked Questions
Dropbox is a popular service for storing and synchronizing information. Any file you put in a Dropbox folder on your computer is copied (synced) to the Dropbox cloud, making it available to all your devices either through the Dropbox website or the Dropbox app that you can install on all your devices.
Dropbox is a convenient utility for placing data in the cloud. Allows you to store information, work with it on any device with an installed client or web interface, as well as open access to other users.
Open the web version of Dropbox, find the file you want to move to the computer, click on three dots on the right of the file column, and choose Download. If you are using a desktop app go to Settings/Preferences/Sync and choose selective sync.
Dropbox is a reliable service that uses AES-256 to protect your data.
If you delete Dropbox from your computer it doesn’t remove any files from Dropbox’s servers.

