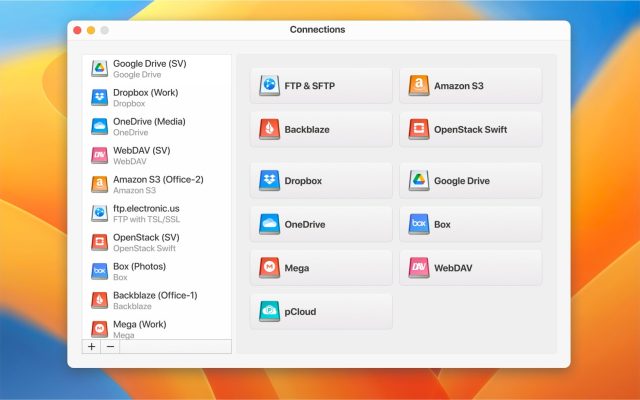
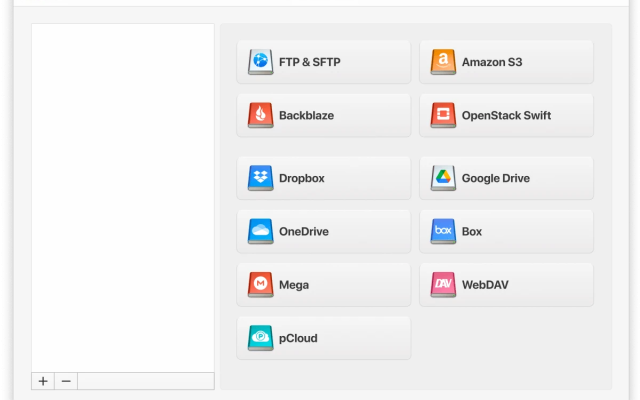
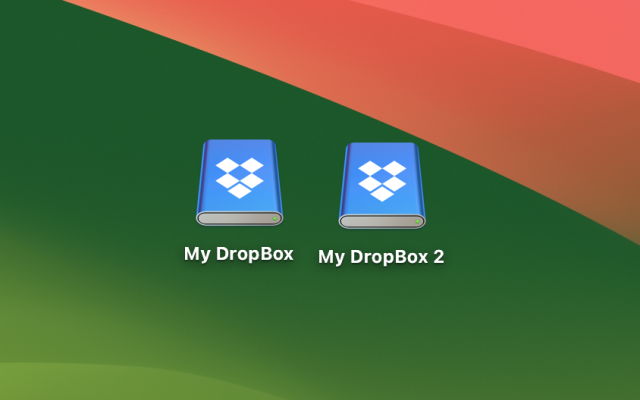
Dropbox is a cloud service designed for Internet users to store their files. Moreover, the file format is not important, it can be a text document, a photo, an archive, a music track, or a video. So how to upload to Dropbox all the files easily? One of the most convenient and fastest ways is CloudMounter. With its help handling your online files can be done with just a snap of a finger. Let’s consider it in more detail.
What is Dropbox?
Dropbox is an online file hosting service that offers various services such as cloud storage, personal cloud, file synchronization, and client software. It was established in 2007 and it was one of the first apps to deliver cloud storage services to all users in times when it was quite hard to share documents, photos, or other data.
Files on Dropbox
When talking about any cloud storage solution, one of the first questions that arise is “What’s the space I’m getting?”. If you’re asking this exact question, you should know that a free account gives you 2GB of cloud storage space. Luckily though, there’s no maximum file size to worry about. So, you can upload one 2GB file in one operation. However, if you’re using the browser version of Dropbox, you can only upload files of 50GB or smaller.
If you decide to upgrade to a paid plan, you get 2TB of storage space with the option to add multiple users, 256-bit AES encryption, and the possibility to upload files of up to 250 GB at once. This is enabled through the Dropbox Transfer and Creative Tools Add-On that’s usually helpful with large files in media like CAD drawing, video graphics, or other such files. You can either save them on desktop, sync on other devices, or transfer them to other users.
Dropbox Upload Speed
No matter if you upload files to create a backup, clear space, or share a link to other users, you’ll want to know about the upload speeds. And everything is connected to your Internet connection speeds. The app itself can’t control upload speed in any way, it’s all about what your ISP delivers.
However, the app does offer the possibility to limit the bandwidth use so it doesn’t interfere with other operations on your computer. This can be done in the Dropbox desktop app by clicking on Preferences and then the Bandwidth button. We need to highlight that this won’t affect the overall upload speed, it will only ensure the app doesn’t use your entire bandwidth when you hit the upload button.
How to Create a Dropbox Account
Follow these step-by-step instructions to make your own Dropbox account:
- Visit the website dropbox.com.
- Enter your email (your email address will be the username for your Dropbox account).
- Enter your first name, last name, and unique password.
- Choose a paid plan and click the “Sign up”.
- All you have left to do is verify your email address.
If you have already installed the Dropbox mobile or desktop app, you can create an account by opening the app and clicking on the “Sign Up” button.
How to add a file to Dropbox using CloudMounter
CloudMounter facilitates the work with clouds and information stored there.
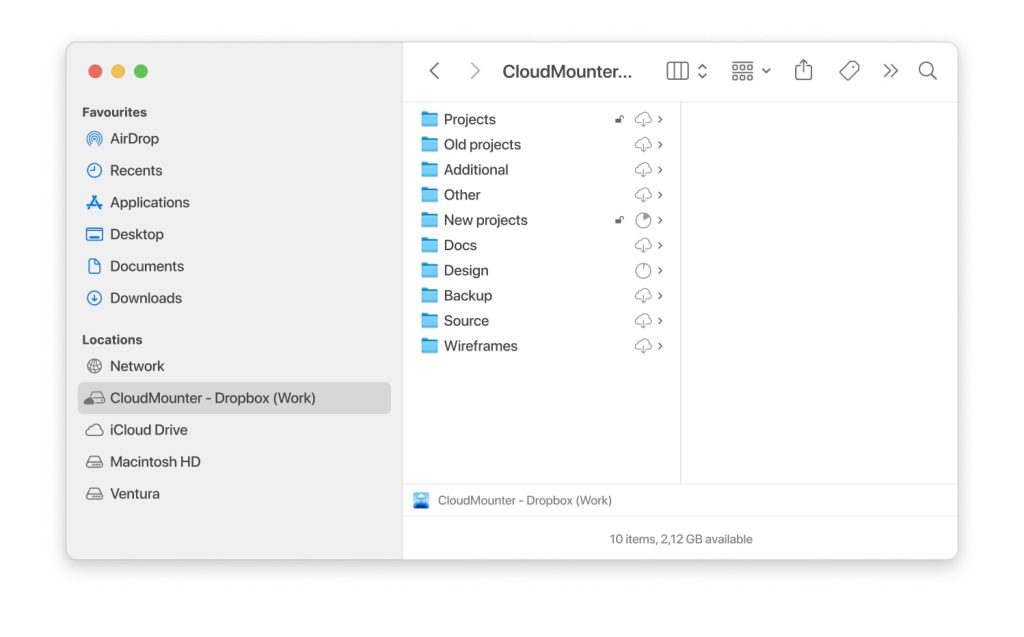
To upload to Dropbox you need to follow these simple steps:
- Choose the necessary data in Finder you want to add to Dropbox.
- Move files to cloud storage by using: drag and drop; cmd+С and cmd+V.
CloudMounter makes it possible to work with your online files as with local ones and access them from Finder. Besides that, the app supports encryption, so you can provide additional measures of security to the files you upload to the cloud.
User scenario:
"I am a photographer and have 10,000's of photos I want to back up to Dropbox. I have created files and folders and want to upload a large folder, with multiple sub folders, at once. If I start the upload it suddenly will just upload a 'few' of the subfolders and stop, yet say upload was complete. To try and upload each subfolder at once would be impossible-I have 1000's of them"— from Dropbox Forum
How to upload files to Dropbox via the web-browser
1. Open the official Dropbox site.
2. Log in with your account. When you are logged into the service, you will immediately find yourself in the “Files” section, which will contain all the documents you uploaded. Initially, there is a PDF-instruction, which can be opened by clicking on its name.
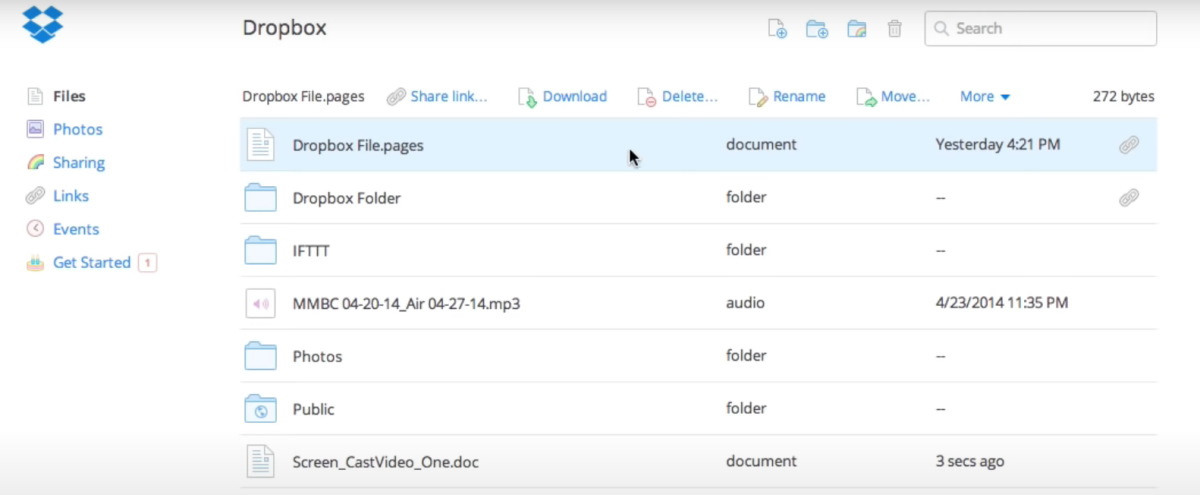
3. Once opened you can select one of these options: upload files/upload folder to Dropbox, by clicking the corresponding icons in the Dropbox interface.
4. There are two ways to upload, either by drag and drop or by normal upload.
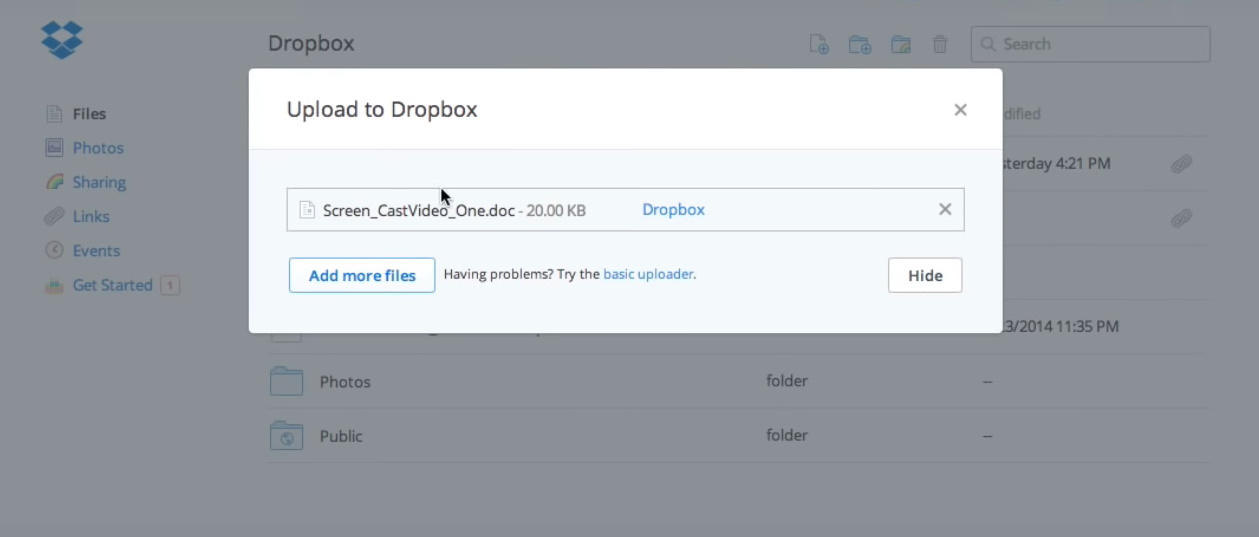
5. You can also upload files to Dropbox into the folders created for them, so it will be easier for you to navigate and have the proper order in your files. To upload a file to a folder, you must first create it. To do this, click on the “Create folder” icon (it is located next to the “Upload” icon), enter the name of the folder, and press “Enter”.
6. To upload a file to the created folder, click on the folder, and repeat the action for uploading described in step 4.
Upload to Dropbox via the native Dropbox client
The app makes everything even easier. To add files to Dropbox follow these simple steps:
- Download Dropbox client from the official site and install it.
- After installation and authorization, you will be asked to select a tariff plan.
- Next, you will be asked to select the installation type Typical (recommended), in which the program will be installed by default, or Advanced, in which you can choose the path to install the Dropbox client.
- Once Dropbox is installed, a Dropbox folder will be created. It is located inside your file system home folder.
- Open the Dropbox folder on your computer. Drag and drop the required data into it.
- When green icons appear on the file shortcuts, it means they are already synchronized with your account and all connected devices.
- In addition, in the context menu that appears when you click on a file, there is an option for quickly uploading to Dropbox.
Dropbox lets you add music to the cloud just like any other file. Besides that, uploaded files with the mp3 extension can be listened to directly from Dropbox if you go to the folder from the browser.
How to add files to Dropbox using a phone
In addition to a program for a computer, Dropbox also exists as applications for most mobile platforms. All data will be synchronized in the same way as on a PC, and the synchronization itself works in both directions, that is, you can add files to Dropbox from your mobile in the same way.
1. Download Dropbox for free directly from the store on your phone.
2. After the application is installed, launch it.
3. Register if you do not have an account yet, or enter the application using the previously created one. Or you can use your Google account.
4. Once opened, tap on the + sign at the bottom of the screen.
5. In the menu that appears, select “Upload files” or “Upload photos or videos”, depending on what you want to send.
6. Next, you have to select the files and click “Upload”.
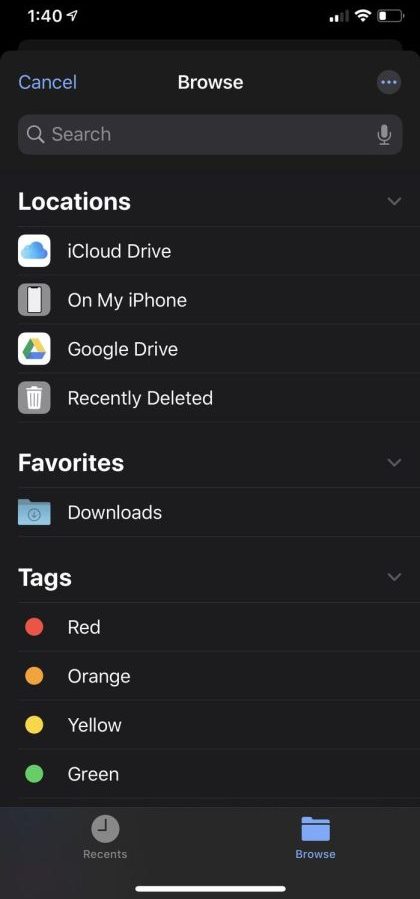
7. You will be taken to the main screen of the program, where you can follow the process of uploading files to Dropbox.
Then the files will sync with other devices and the Dropbox service. Thus, all changes will be automatically reflected on all computers and phones. The application can be configured so that in the process of shooting a video or photographing, these files will automatically go to the Dropbox folder, and you have access to them from any device.
Conclusion
Uploading files to Dropbox is not a difficult thing and as you see there are a lot of variants. Choose the most convenient way for you, or use several of them and access your cloud files whenever there is a need.
Popular Articles
Frequently Asked Questions
The service reliably monitors the safety of your uploaded data by using a high level of security, namely SSL protocol and AES-256 encryption algorithm.
No, no one can access your Dropbox account along with people who have uploaded files at your request to your Dropbox account.
Files uploaded to Dropbox through a browser must not exceed 50 GB; files uploaded through the API must not exceed 350 GB.
There could be several reasons why you can’t upload files to Dropbox: not enough storage space, poor internet connection, file size limits, or problems with your Dropbox account or app.

