Since OneDrive is a cloud storage solution designed primarily for Microsoft Windows, Mac users may find themselves encountering some challenges when trying to utilize the service on their Apple devices. To overcome these problems, it’s worth taking advantage of a dedicated third-party service to help OneDrive completely sync with your Mac. Keep reading, where we’ll name some of the best solutions currently available.
How to install OneDrive on Mac
Before you start using OneDrive for Mac, you will need to install the service on your computer. In this paragraph, we will describe the steps you need to follow to rapidly do so and enjoy the functionality of OneDrive.
1. Open the App Store on your Mac and search for OneDrive.
2. Install the app for free and open it after the download and installation process is finished.
3. Now the OneDrive app is added to your Mac computer.
Having added the app to your Mac, it’s time to start using it to upload files and gain access to them on your devices. To do so, you’re going to need to set it up first.
How to Synchronize OneDrive on Your Mac Device
Users situation:
Is there a solution for Mac computers to sync desktops, documents, and pictures to OneDrive, ensuring a similar level of data synchronization across devices?— Reddit
- Bring up the App Store menu and enter “OneDrive” in the search bar. Click “Get”, followed by “Install”. If prompted, enter your Apple ID to sign in. Once the app has finished downloading, click on it to launch.
- You’ll now enter your login details to start the synchronization process. Input the Microsoft email address for the account you wish to sync and click “Sign In”, then input your password.
- You’ll now see relevant information for your OneDrive folder. Save the location of this folder in your office files.
The synchronization process is automatic, so any time you log into your OneDrive from one of your devices, you can see any files in your OneDrive folder that you’ve uploaded from your Mac.
How to Use OneDrive on Mac
When you open the OneDrive app on your Mac, you will be asked to either sign in or create an account if you don’t already have one. Next, we’ll give you the steps to create a OneDrive account if you don’t have one already.
Creating a OneDrive Account for First Use
1. Access onedrive.live.com on your browser and click on Sign up for free.
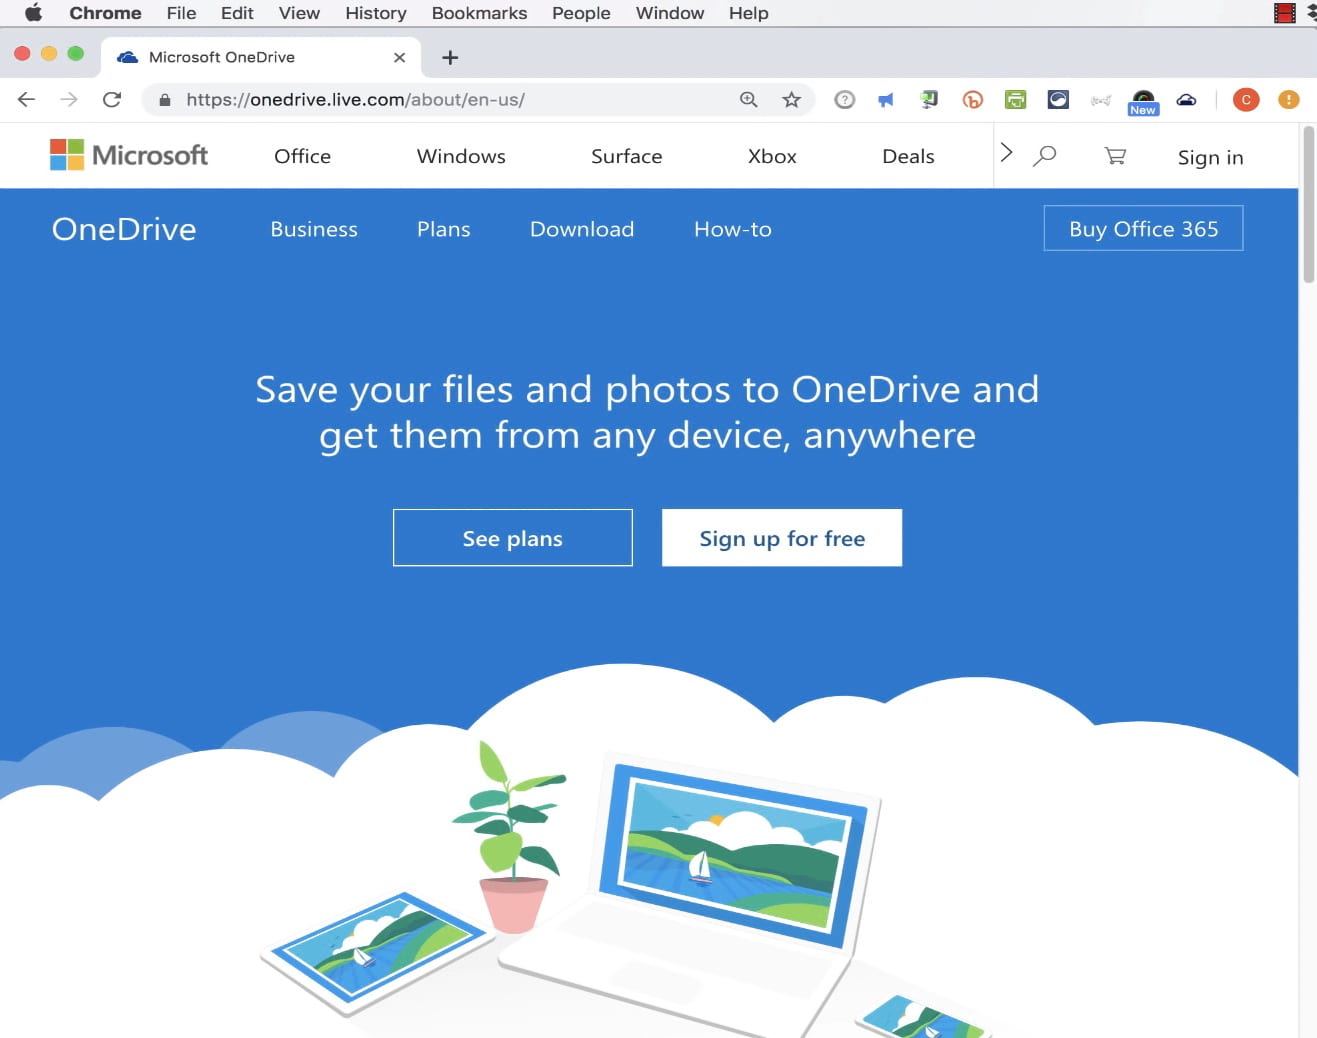
2. Next, click on Create a Microsoft Account.
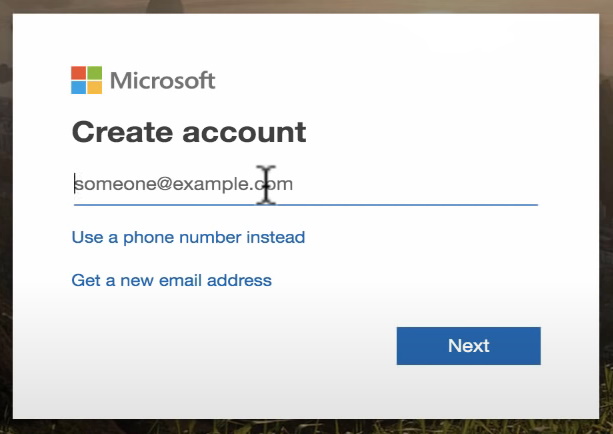
3. Insert your email address and set up a password for your new account before clicking Next.
You can also use a phone number if you don’t want to share your email address. If you choose to go with the phone number registration, you will receive a code via SMS that you’ll use to confirm your account.
Setting Up OneDrive If you Already Have an Account
If you already had a OneDrive account or you’re just done creating one, it’s time to set up the app and start enjoying all the perks it offers. Here’s what you need to do to quickly set up Microsoft OneDrive for Mac:
1. Insert your OneDrive account in the box at the bottom of the app and then click Sign In.
2. You’ll have to tell OneDrive what type of account you are using – “Personal” or “Work or School”.
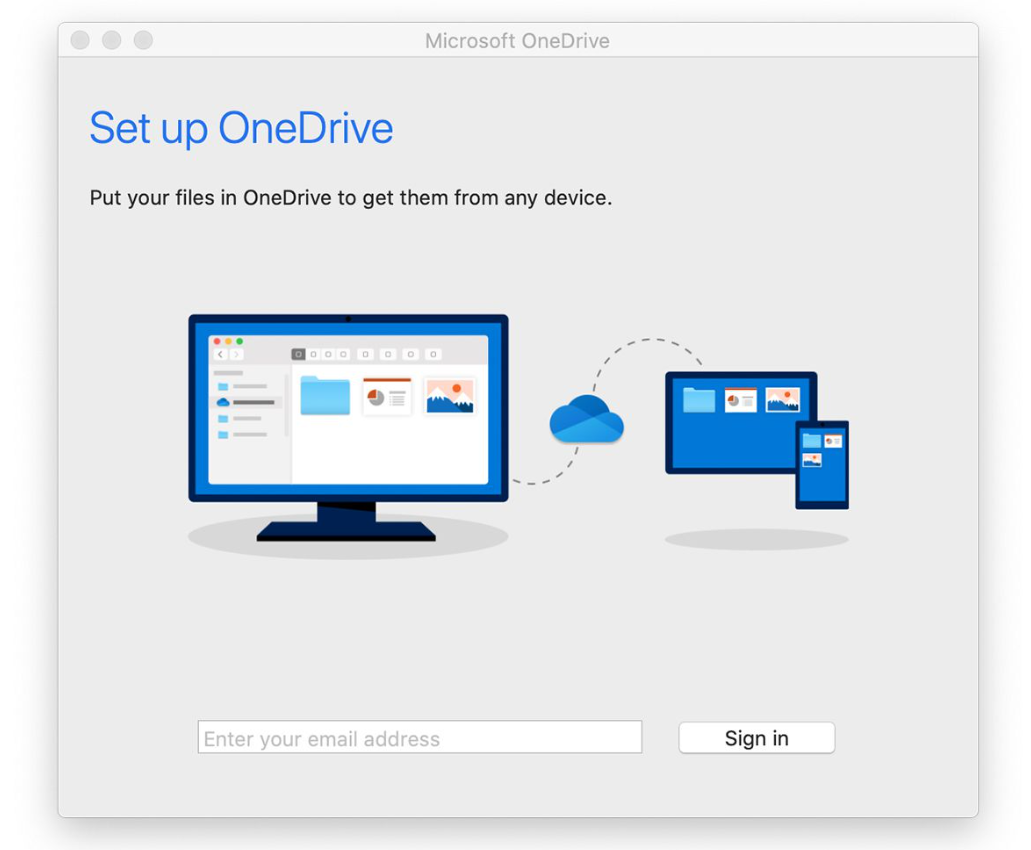
3. If you use a personal OneDrive account, you will be able to immediately start uploading files into your OneDrive.
4. Using a Work or School account will also require an Office 365 account.
5. Once you access your OneDrive account, you are free to start creating new folders and uploading content to organize everything.
Additionally, you should always ensure that you’ve got the latest version of the OneDrive app installed on your Mac device to minimize performance conflicts. To do this, click on the OneDrive icon in the menu bar, navigate to “More”, then click “Preferences” and finally “About”. From here, you’ll be able to see which version you currently have installed and whether you need to manually update to the latest edition.
How to Upload Files to OneDrive on Mac
We’ve covered the steps that need to be taken to add OneDrive for Mac on your computer and to set up your account. Now, it’s time to go through a step by step guide on how to actually upload files on the OneDrive account that you just set up. Even though the process is very simple and intuitive thanks to the excellent user interface provided by OneDrive, it’s good to have the exact steps to follow in case you’re not that experienced with computers. Here’s how to upload files to the OneDrive Mac app:
1. Open the OneDrive App from the Dock or using Finder if you didn’t place it in the Dock.
2. Look for the “Upload” option in the upper-right part of the app interface.
3. A new window will open where you are free to navigate your Mac to find the file or folder you want to upload.
4. Once you located the file you want to upload, click on “Open” on the bottom-right part of the dialogue box.

5. Watch the progress of the upload.
6. When the upload is complete, you will be able to see your file on the main page or in the folder you chose for the upload.

If you also want to share a file so others can download it using Microsoft OneDrive for Mac, just follow these easy steps after the upload process is complete.
1. Select the file or folder you want to share by checking the box in the top-right corner of it.
2. Once selected, click on “Share” on the list of options situated on the top side of the app.
3. You can either share the files or folders by inserting an email address of the recipient or even integrate Facebook with OneDrive to easily share with your friends.
4. Before sharing the files or folders using this method, you can decide the level of control the recipients will have (they can either view or edit the files and folders) or if they require a Microsoft account to access the files.
Also, in the Share screen you can click on “Get a link” to copy and easily paste to the people you want to gain access to the files and folders in your OneDrive account. Choose the sharing method that seems easiest for you and rapidly offer access to other people.
Key Features of Using the OneDrive App for Mac
Now that we’ve covered the functionality of OneDrive on a Mac computer and you’re well aware of how to create an account, set up the service, upload files and share them with other people, it’s time to go through the list of features you get when using OneDrive. Besides the obvious extra storage space on the cloud and ease of sharing these files and folders with friends, there are many more benefits you get when you download OneDrive for Mac.
Free Storage
One of the main benefits of using OneDrive on your Mac is getting the 5GB of free storage offered by the Microsoft-owned storage solution. On top of the 5GB, you also get a chance to earn more free storage space if you refer OneDrive to other users. Also, making OneDrive the main photos backup utility gives you extra storage space as well.
Easy Organisation and Sync
With OneDrive for Mac you can easily store photos, videos, apps, documents, and pretty much any type of content. Afterwards, you can access them from any other Mac, Windows computer, or mobile devices that have OneDrive on them. Also, it can be used to organize files by type so you easily find what you are looking for. The Sync functionality can automatically backup files from your devices to OneDrive, depending on a series of settings you can tweak for maximum efficiency.
Strong Collaboration with the Office Suite
Since it’s developed by Microsoft, OneDrive comes with plenty of integrations with Microsoft Office so if you have a Office 365 account you will be able to easily save and open documents directly from your OneDrive. Also, a OneDrive account allows you to collaborate in real-time with other people on the documents you create.
Social Media Integration
No matter if you’re the OneDrive app on your Mac or directly in browser, you can link it with the leading social networks for easier operation. Doing so you will be able to share files with Facebook friends or other social media platforms.
CloudMounter – Convenient OneDrive Desktop App for Mac
As mentioned before, using OneDrive on a Mac can come with some hiccups or issues in functionality. While these issues are not consistent, it’s still to get the OneDrive Mac not syncing error or anything else that can delay your work. Luckily, you can avoid all errors and make OneDrive work like a charm on your Mac through CloudMounter.
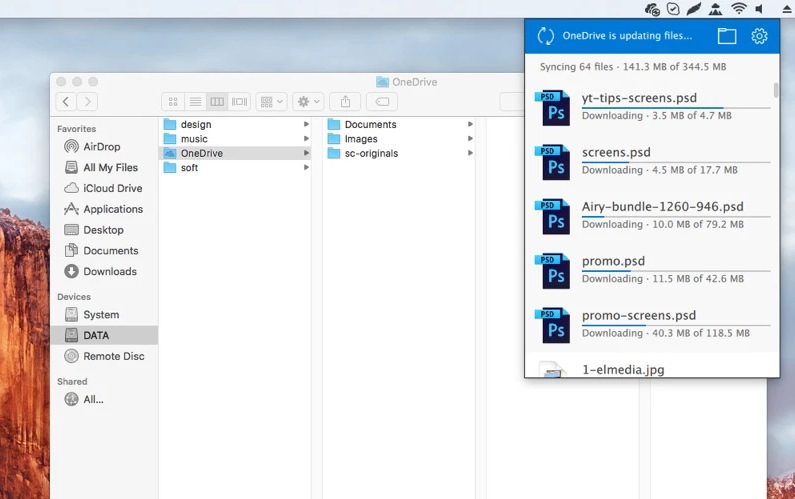
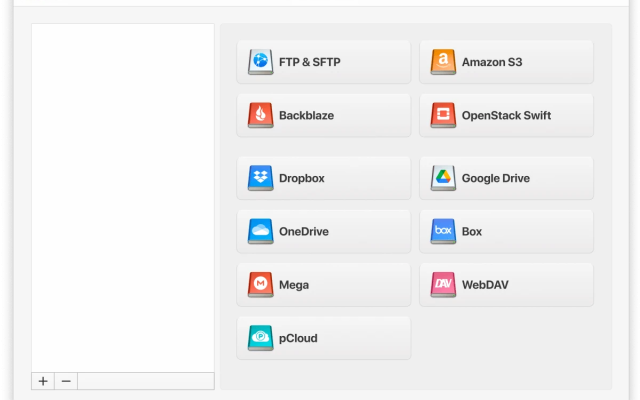
CloudMounter is the software that allows you to easily map all popular cloud services as a drive on your Mac. Mount OneDrive as an external drive and you will be able to rapidly access all your files and folders uploaded there through Finder.
You can map OneDrive with CloudMounter for free and that’s another top benefit. You can have all your cloud services in one place and choose which ones to mount or unmount without paying a cent. Indeed, you can upgrade to the paid version for a massive pack of extra benefits. However, using OneDrive comes free of cost.
Furthermore, CloudMounter improves OneDrive by adding an extra layer of security with its cloud storage encryption. Using Finder to rapidly locate files uploaded on OneDrive is another massive advantage you get. Also, the app is constantly updated so you can count on getting the best services all the time.
Conclusion
After finding out everything about how to access OneDrive on Mac and the various ways to get the most out of your cloud storage account, all that’s left is give it a try. If you want a smooth experience on your Mac, adding OneDrive as a storage device with CloudMounter is an excellent approach. You will enjoy smooth operation all the time and a long list of benefits that come with this app.
Always access your photos, music, documents, or apps no matter the device you’re using as long as you mount OneDrive using CloudMounter. This all-in-one solution brings all your cloud storage locations in one place for a smoother experience.
Popular Articles
Frequently Asked Questions
Of course. You can either use OneDrive on a Mac through the dedicated app found in the App Store or through Cloud Mounter. This dedicated app makes it a lot easier to access OneDrive and organize your files and folders.
Adding OneDrive to your Mac can be done by installing the app and setting up the account. However, if you want to make the most of OneDrive on Mac, adding CloudMounter is also recommended. Doing so you get Finder integration, extra encryption capability and a lot more benefits!
OneDrive for Mac will only store files locally if you download the files uploaded online. Also, it does store some files during the installation, the files needed for the app to function. All these files can be easily removed if you decide to uninstall the app and just use it through CloudMounter instead.
Yes, you are allowed to use 2 OneDrive accounts on one Mac. To do so, you will have to upgrade to a Business account and double-check that both accounts are active. Then, go to the OneDrive icon, click on Preferences, Account, Add an Account and follow the instructions on the screen.
If you are using OneDrive for Mac through CloudMounter, removing it is very easy. Just unmount the OneDrive and you are done. If you chose to install OneDrive on Mac then you will have to uninstall the app from Finder or simply dragging it into the “Trash”.
You can check information about the releases by following this link.

