How to create Amazon S3 bucket
If you already have an AWS account, you will be able to use Amazon S3 as this is the service that is with your Amazon account by default. In this article, we’ll show you how to create and customize an Amazon S3 bucket, upload files and folders, and configure properties and permissions.
1. Sign in to the AWS Management Console.

2. Click on the S3 service type in the search field. Click on S3 to access Amazon S3.

3. Click Create bucket, which will be used to upload items.
4. In the Name and Region field, enter S3 bucket name, select the Amazon region and click Next.

5. Under Configure Settings, configure your bucket and click Next.
6. In the Set Permissions section, configure the permission for AWS users who should (not) have access to the Amazon S3 bucket and click Next.

7. In the Check section, check if the configuration is correct and click Create bucket. Your Amazon S3 bucket is ready for use.

Please note that you cannot rename S3 bucket once it is created, as its name will be included in the URL.

How to mount Amazon S3 on your computer
1. Install CloudMounter on your computer.
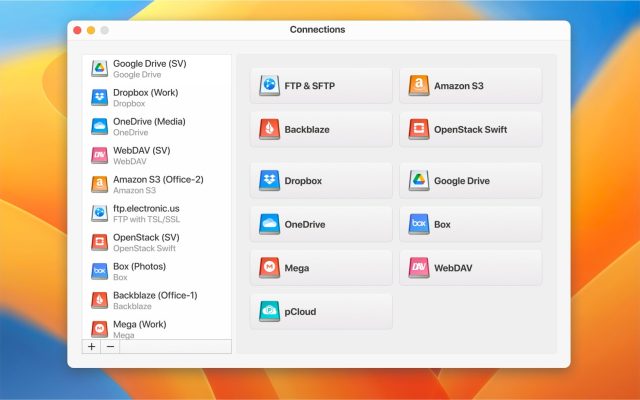
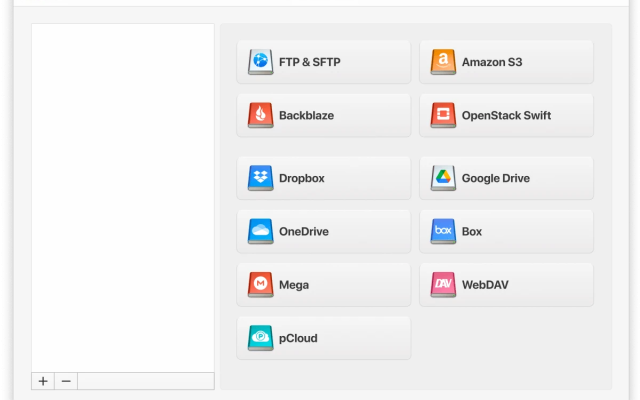
2. In an open app window select the Amazon S3 icon from the list.
3. Specify the name of the connection.
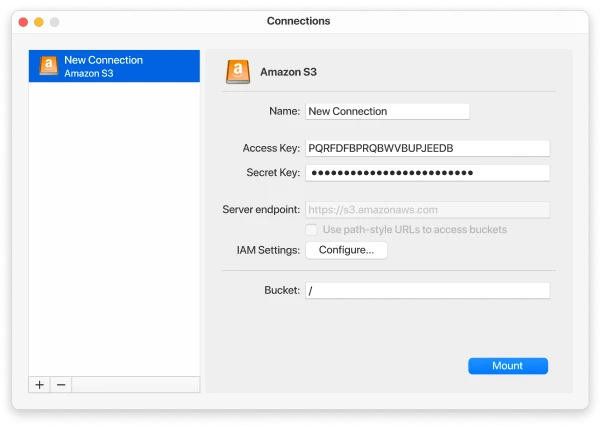
4. Enter the access key and secret access key.
5. Pick a style to use: path style or virtual-hosted style.
6. Enter the bucket name or specify the root directory using the slash character.
7. Click the Mount button. And now you can easily manage files between Amazon S3 and FTP, as an example.