Connect to FTP in Windows

Connecting to an FTP server in Windows is a great way to access, upload, and manage all your files on a remote server. While it is possible to do that in File Explorer, you only get basic functionality, which can be very limiting.

If you want more control and features, then CloudMounter is a great alternative worth checking out. This guide will explain how to connect to FTP in Windows using both methods so you can choose what works best for you.

Add a network location to File Explorer

Using File Explorer, you can connect to an FTP server and transfer files easily. Here’s how you can add an FTP location in Windows 11:

Open File Explorer > go to This PC > click Add a network location > press Next > select Choose a custom network location > type in the FTP address > enter your Username or check Log on anonymously > type a name for the network location > and tap Finish.

Once you’ve set that up, connect by opening the shortcut you just created. A window will pop up asking for your password. Enter it, and the server folder should open. If the server allows anonymous connections, its contents will load right away in File Explorer. You’re now ready to start working with your files.

Note:  There is no native support for FTPS and the more modern FTPES in Windows. Fortunately, there is a quicker and more convenient way to access and manage your files on an FTP server. We have explained it below.

Connecting through an FTP client for Windows

If you need to access an FTP server frequently to work with its files, we recommend switching to a dedicated FTP client that is more user-friendly and intuitive than the native Windows options.

These programs not only let you connect to FTP servers but often support multiple types of online storage services and come packed with extra features to make file management easier.

If you need to transfer data between the FTP server and cloud services like Amazon S3 or Google Drive, we suggest checking out CloudMounter. It integrates all your online storage accounts directly into File Explorer, allowing you to manage everything from one place without having to install separate desktop apps for each service on your computer.

How to access FTP files using CloudMounter

With CloudMounter, you can transfer files on an FTP server, and do a lot more. Here’s how to access FTP server in Windows with this program:

1. Download and install the software on your Windows PC.

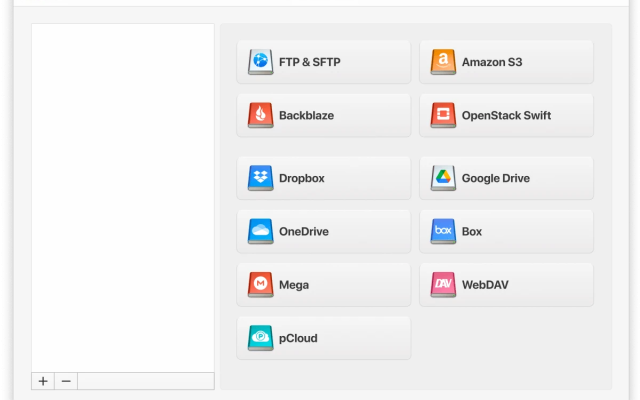
2. Run the CloudMounter app and choose the “FTP & SFTP” storage type.

Select the FTP connection in CloudMounter on Windows

3. Now select the connection type (FTP) and enter the server name, address, port (usually port 21), username, and password (or anonymous login). Choose between Active or Passive mode, enter the remote path (the folder on the server you want to connect to), and you’re done.

FTP setting in CloudMounter on Windows

4. Click on “Mount”, and you should now be able to open the FTP server in File Explorer directly.

Access FTP server in File Explorer

How else is CloudMounter helpful

Here are some other benefits of using our desktop app:

  • Compatible with both Windows and macOS
  • Manage files across all your storage accounts in a single platform
  • Add and use as many accounts as you need
  • Supports multiple cloud storage services, SFTP, and WebDAV remote servers
  • Client-side encryption offers an extra layer of protection for your online data.

Conclusion

As you can tell, using File Explorer to connect to an FTP server might not be the best option for those who want more control and features. CloudMounter offers a much better alternative by providing easy integration of multiple cloud and FTP accounts into a single, easy-to-use interface.

With added security through client-side encryption and support for various protocols, it’s the perfect choice for people who want a better and more secure way to manage their remote files. If you’re not sure how to use the FTP server in Windows, start with this app.